Stockings for Soldiers Project Tips

Stockings for Soldiers Project Tips
Whew! What a project! We have successfully completed our Christmas Stockings for Soldiers project, sending a Christmas stocking to each soldier in an entire deployed Infantry Company.
It was a big project…a very big project. I was afraid–many times–that I had gotten in over my head. But now it is finished, and I’m happy and proud.
Maybe you also would like to send Christmas stockings to an entire Infantry Company…or take on another intimidating project. I’m sharing some Stockings for Soldiers Project Tips that you may find helpful.
Stockings for Soldiers Project Tips
1. Find Recipients and a Contact Person
Since I was sending stockings to our son’s Infantry Company, it was not difficult for me to get the information I needed. You’ll need to have an address, a unit contact person (First Sergeant, Company Commander, Chaplain, etc.), and a general idea of how many stockings are needed.
If you do not have a deployed military connection, contact militaryfamiliesministry.com and they will be happy to connect you with information.
2. Brainstorm
Gather a few friends or family members together and put on your thinking caps. If they have experience in fund raising or large events, so much the better. My sister was a wealth of information and ideas for me, and my family offered support.
Ask questions. What military, Corporate, or non-profit connections do you have? Do you know a store manager? School principal? Do you have a venue connection such as a church, group hall, school gym? In my case, my sister and her family have been involved in Cub Scouts and Boy Scouts for many years. She offered their meeting place and help in stuffing stockings for their winter volunteer project.
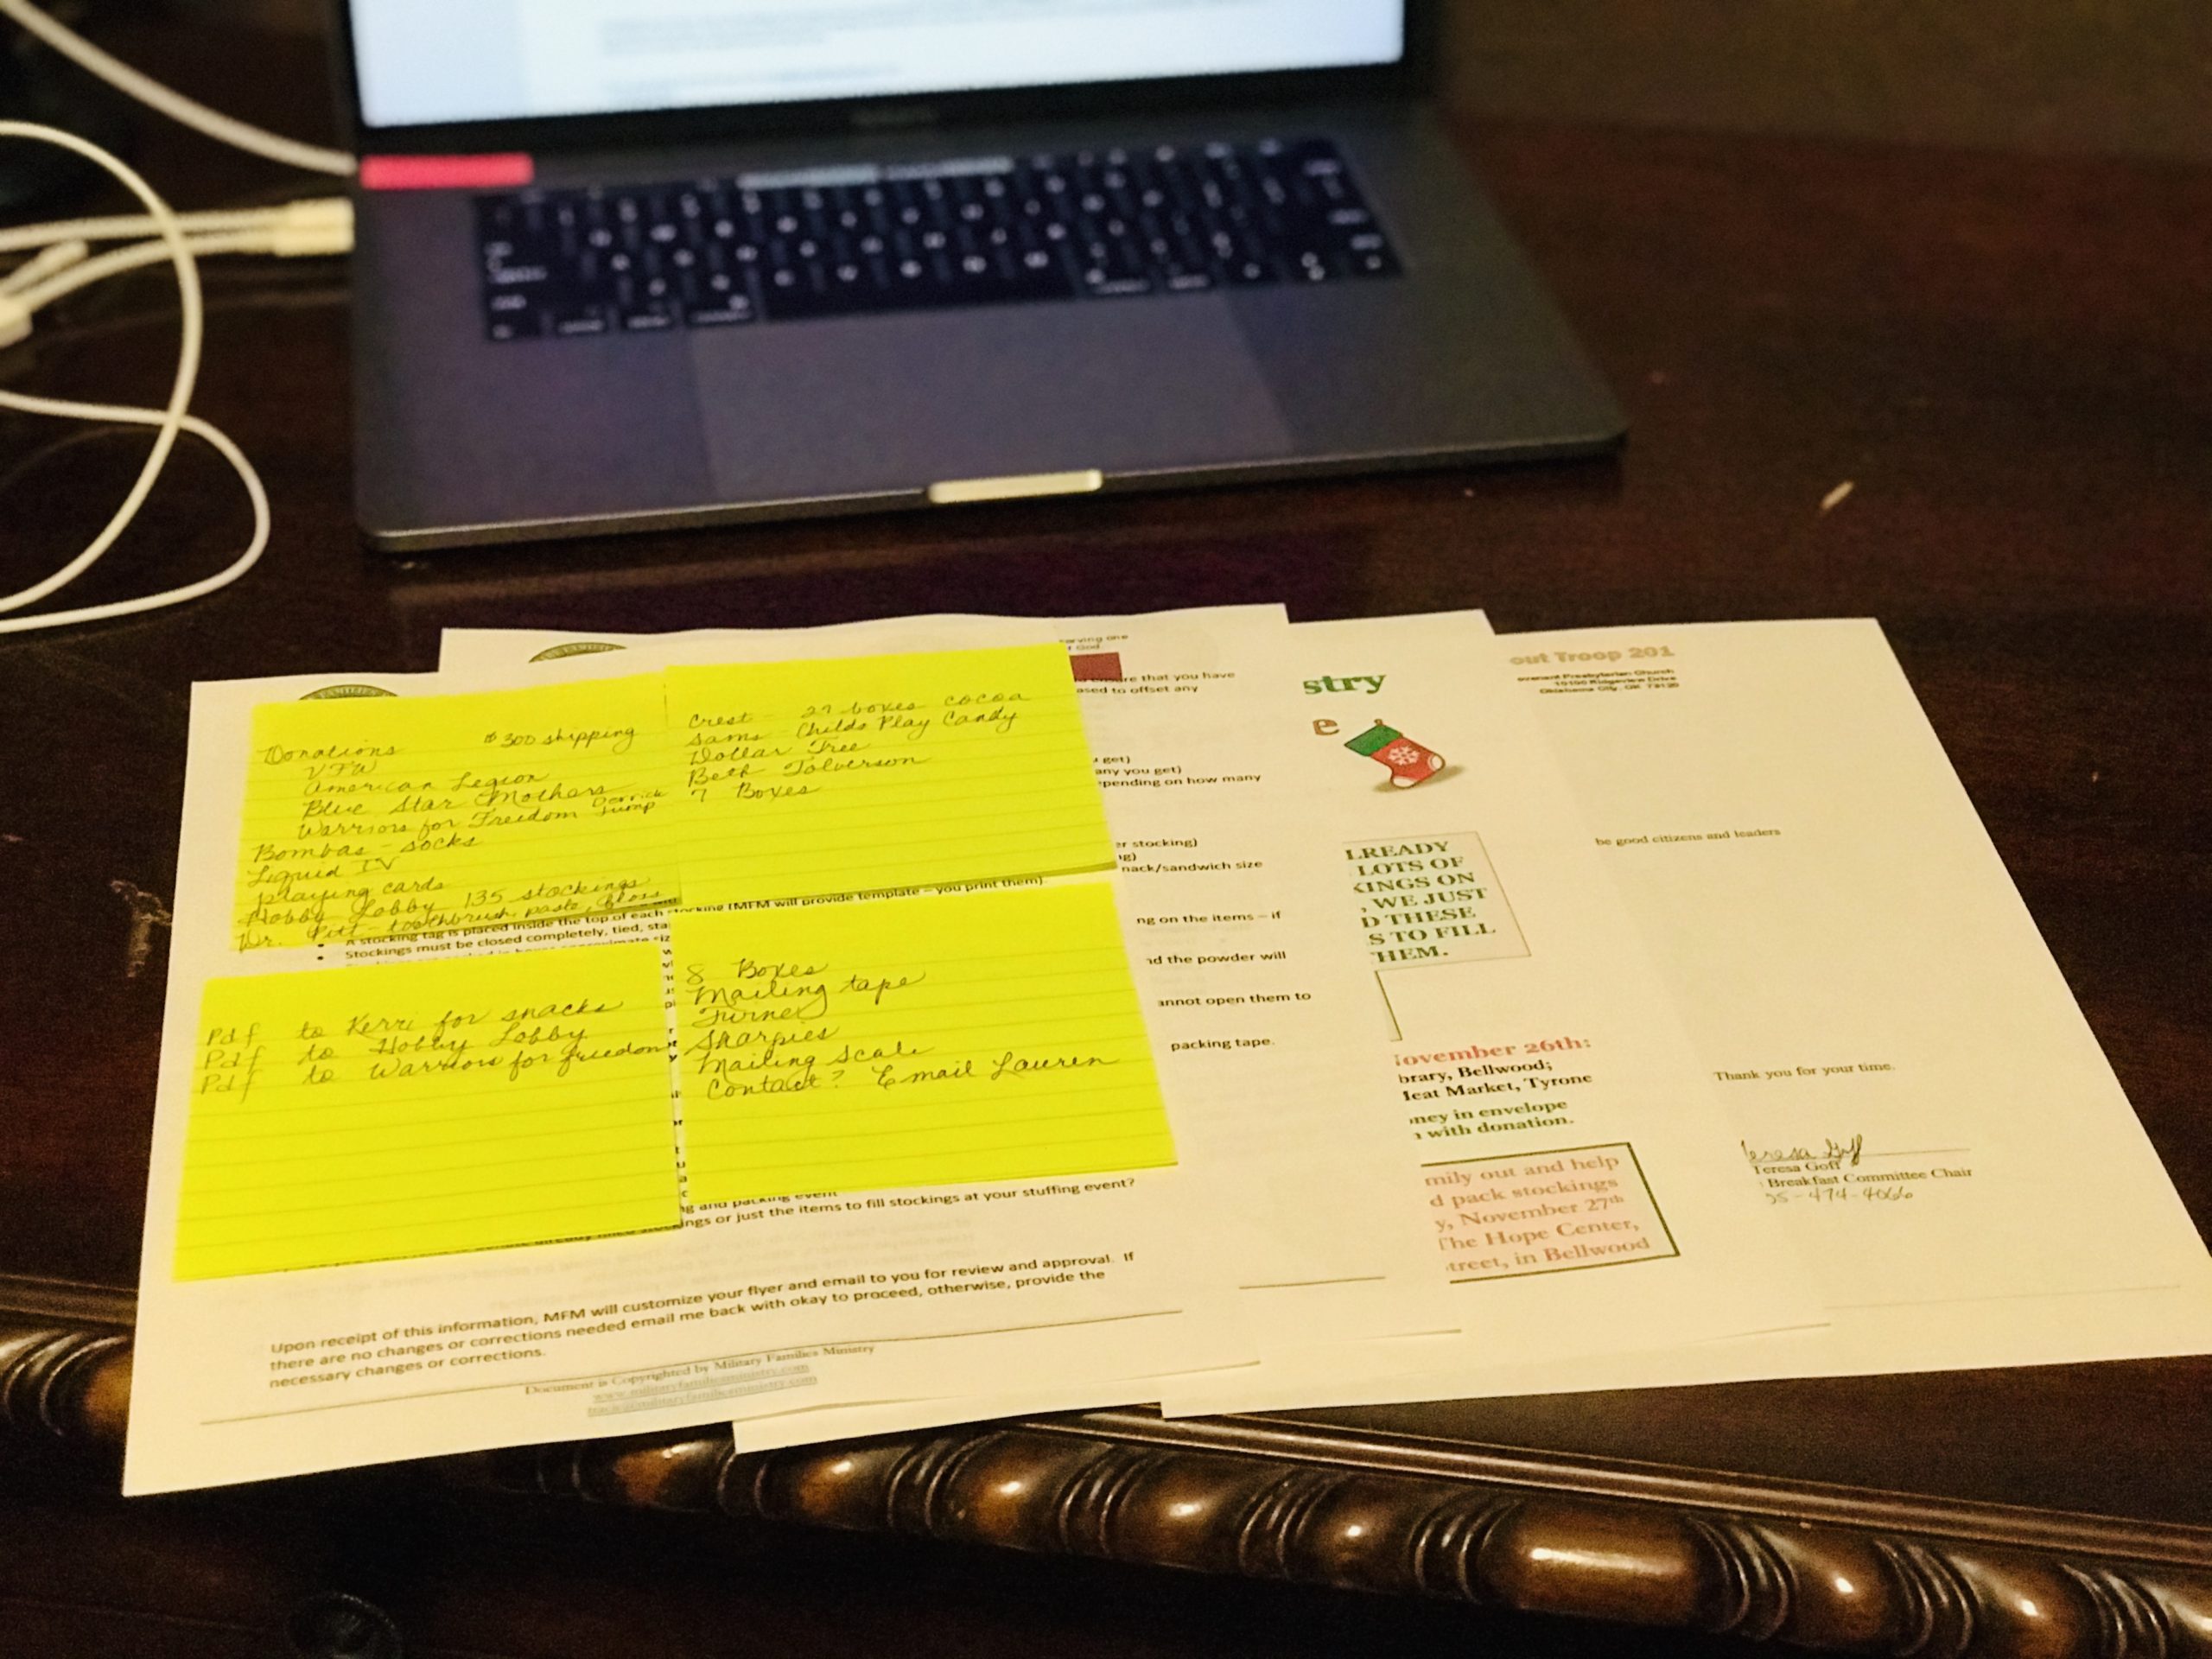
3. Select a Date and Venue
Everyone needs to know the cutoff date. When are the donations due? Will we be gathering to stuff stockings as a group?
Mail can take quite a while to reach deployed service members, depending on their location. You will certainly want to ship your boxes by the end of November at the latest. We shipped on November 19.
I recommend beginning your project in early October. I was out of town and didn’t begin until mid-October, and it was a push.
4. Write Letters to Corporate Sponsors
One of my Army Mom friends broached the project with her work, and they offered to donate chap stick and hair combs. For example, you may request shipping tape and candy from Sams Club or Walmart, toothbrushes from your dentist, Christmas stockings from Hobby Lobby or Dollar Tree, boxes from U-Haul, ramen from your local grocery store.
Write your letter and then hand carry it into store and request to speak to a floor manager. Write down the name of this manager. I neglected to do this, and then had no follow-up contact. Our family dentist was extremely generous and provided toothbrushes, toothpaste, and floss for each soldier. Our local U-Haul office was generous with boxes, but I realized afterward that I had chosen boxes that exceeded my country of destination’s maximum size. So, I used those boxes to house donations as they came in and purchased a different size from Home Depot.
The Middle School at the Christian school I once taught at also held a card game and toy drive and collected both stocking stuffers and $200 cash to help with shipping costs!
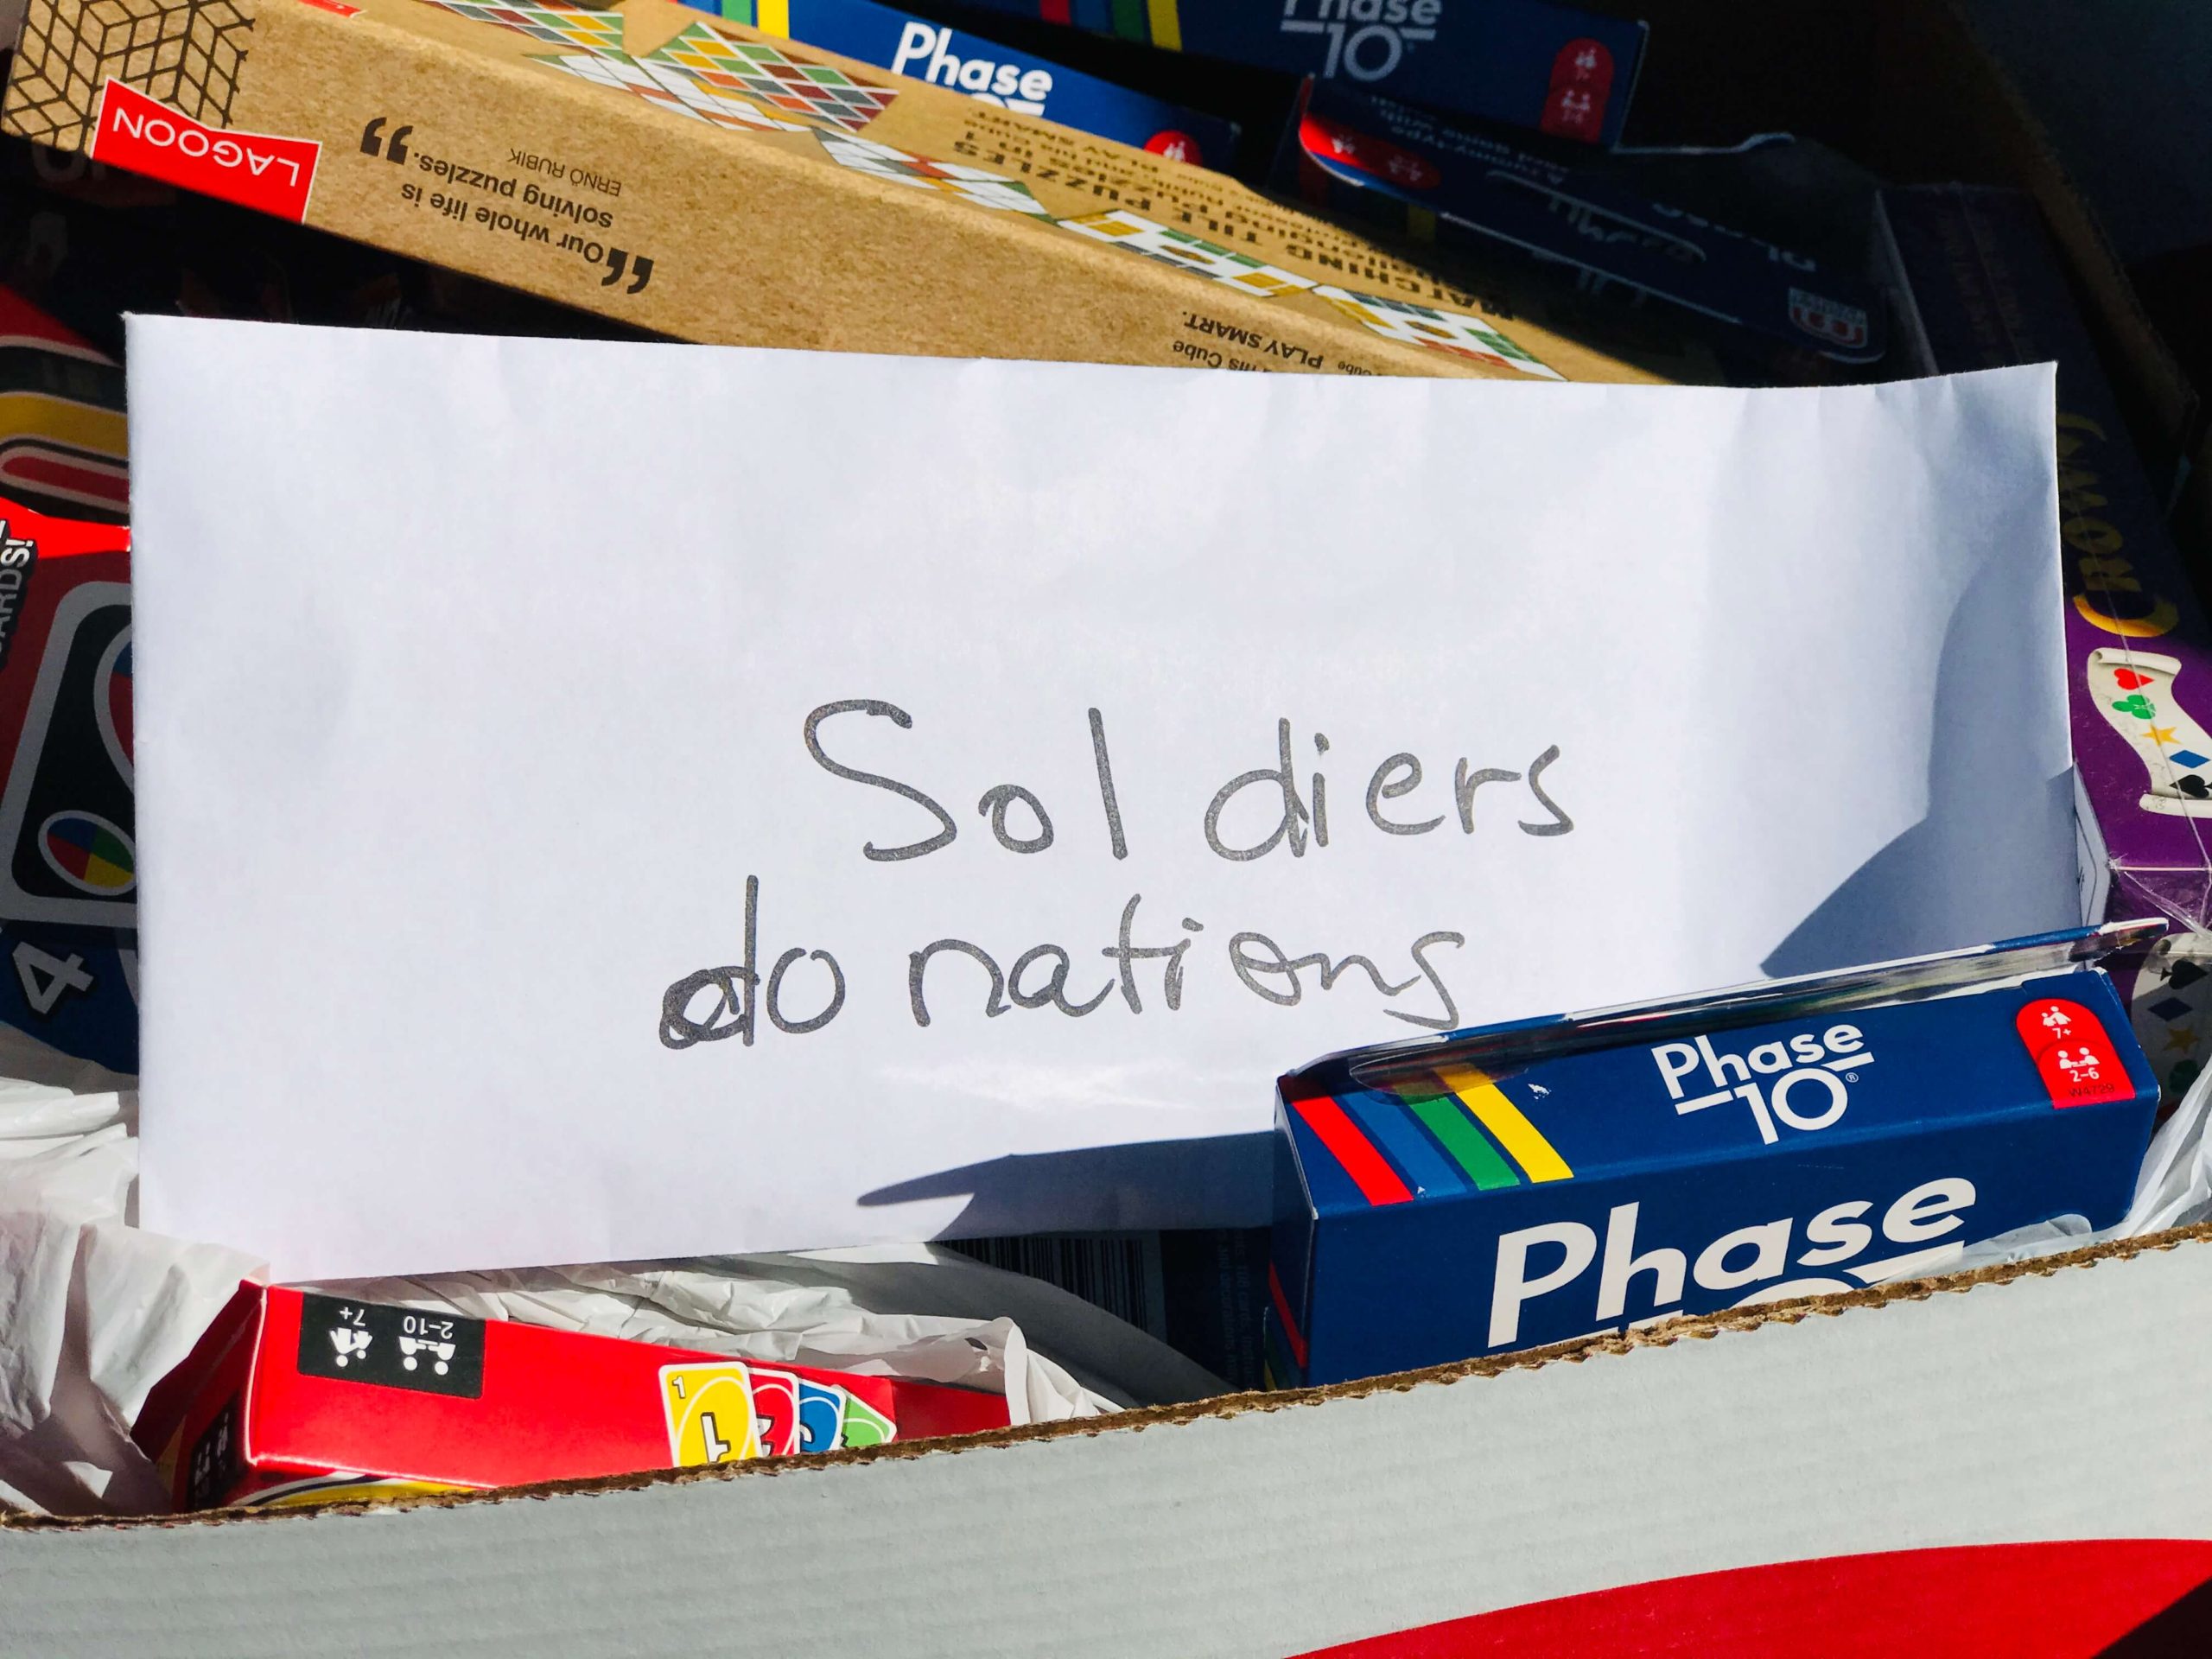
5. Create a Public Amazon Wish List
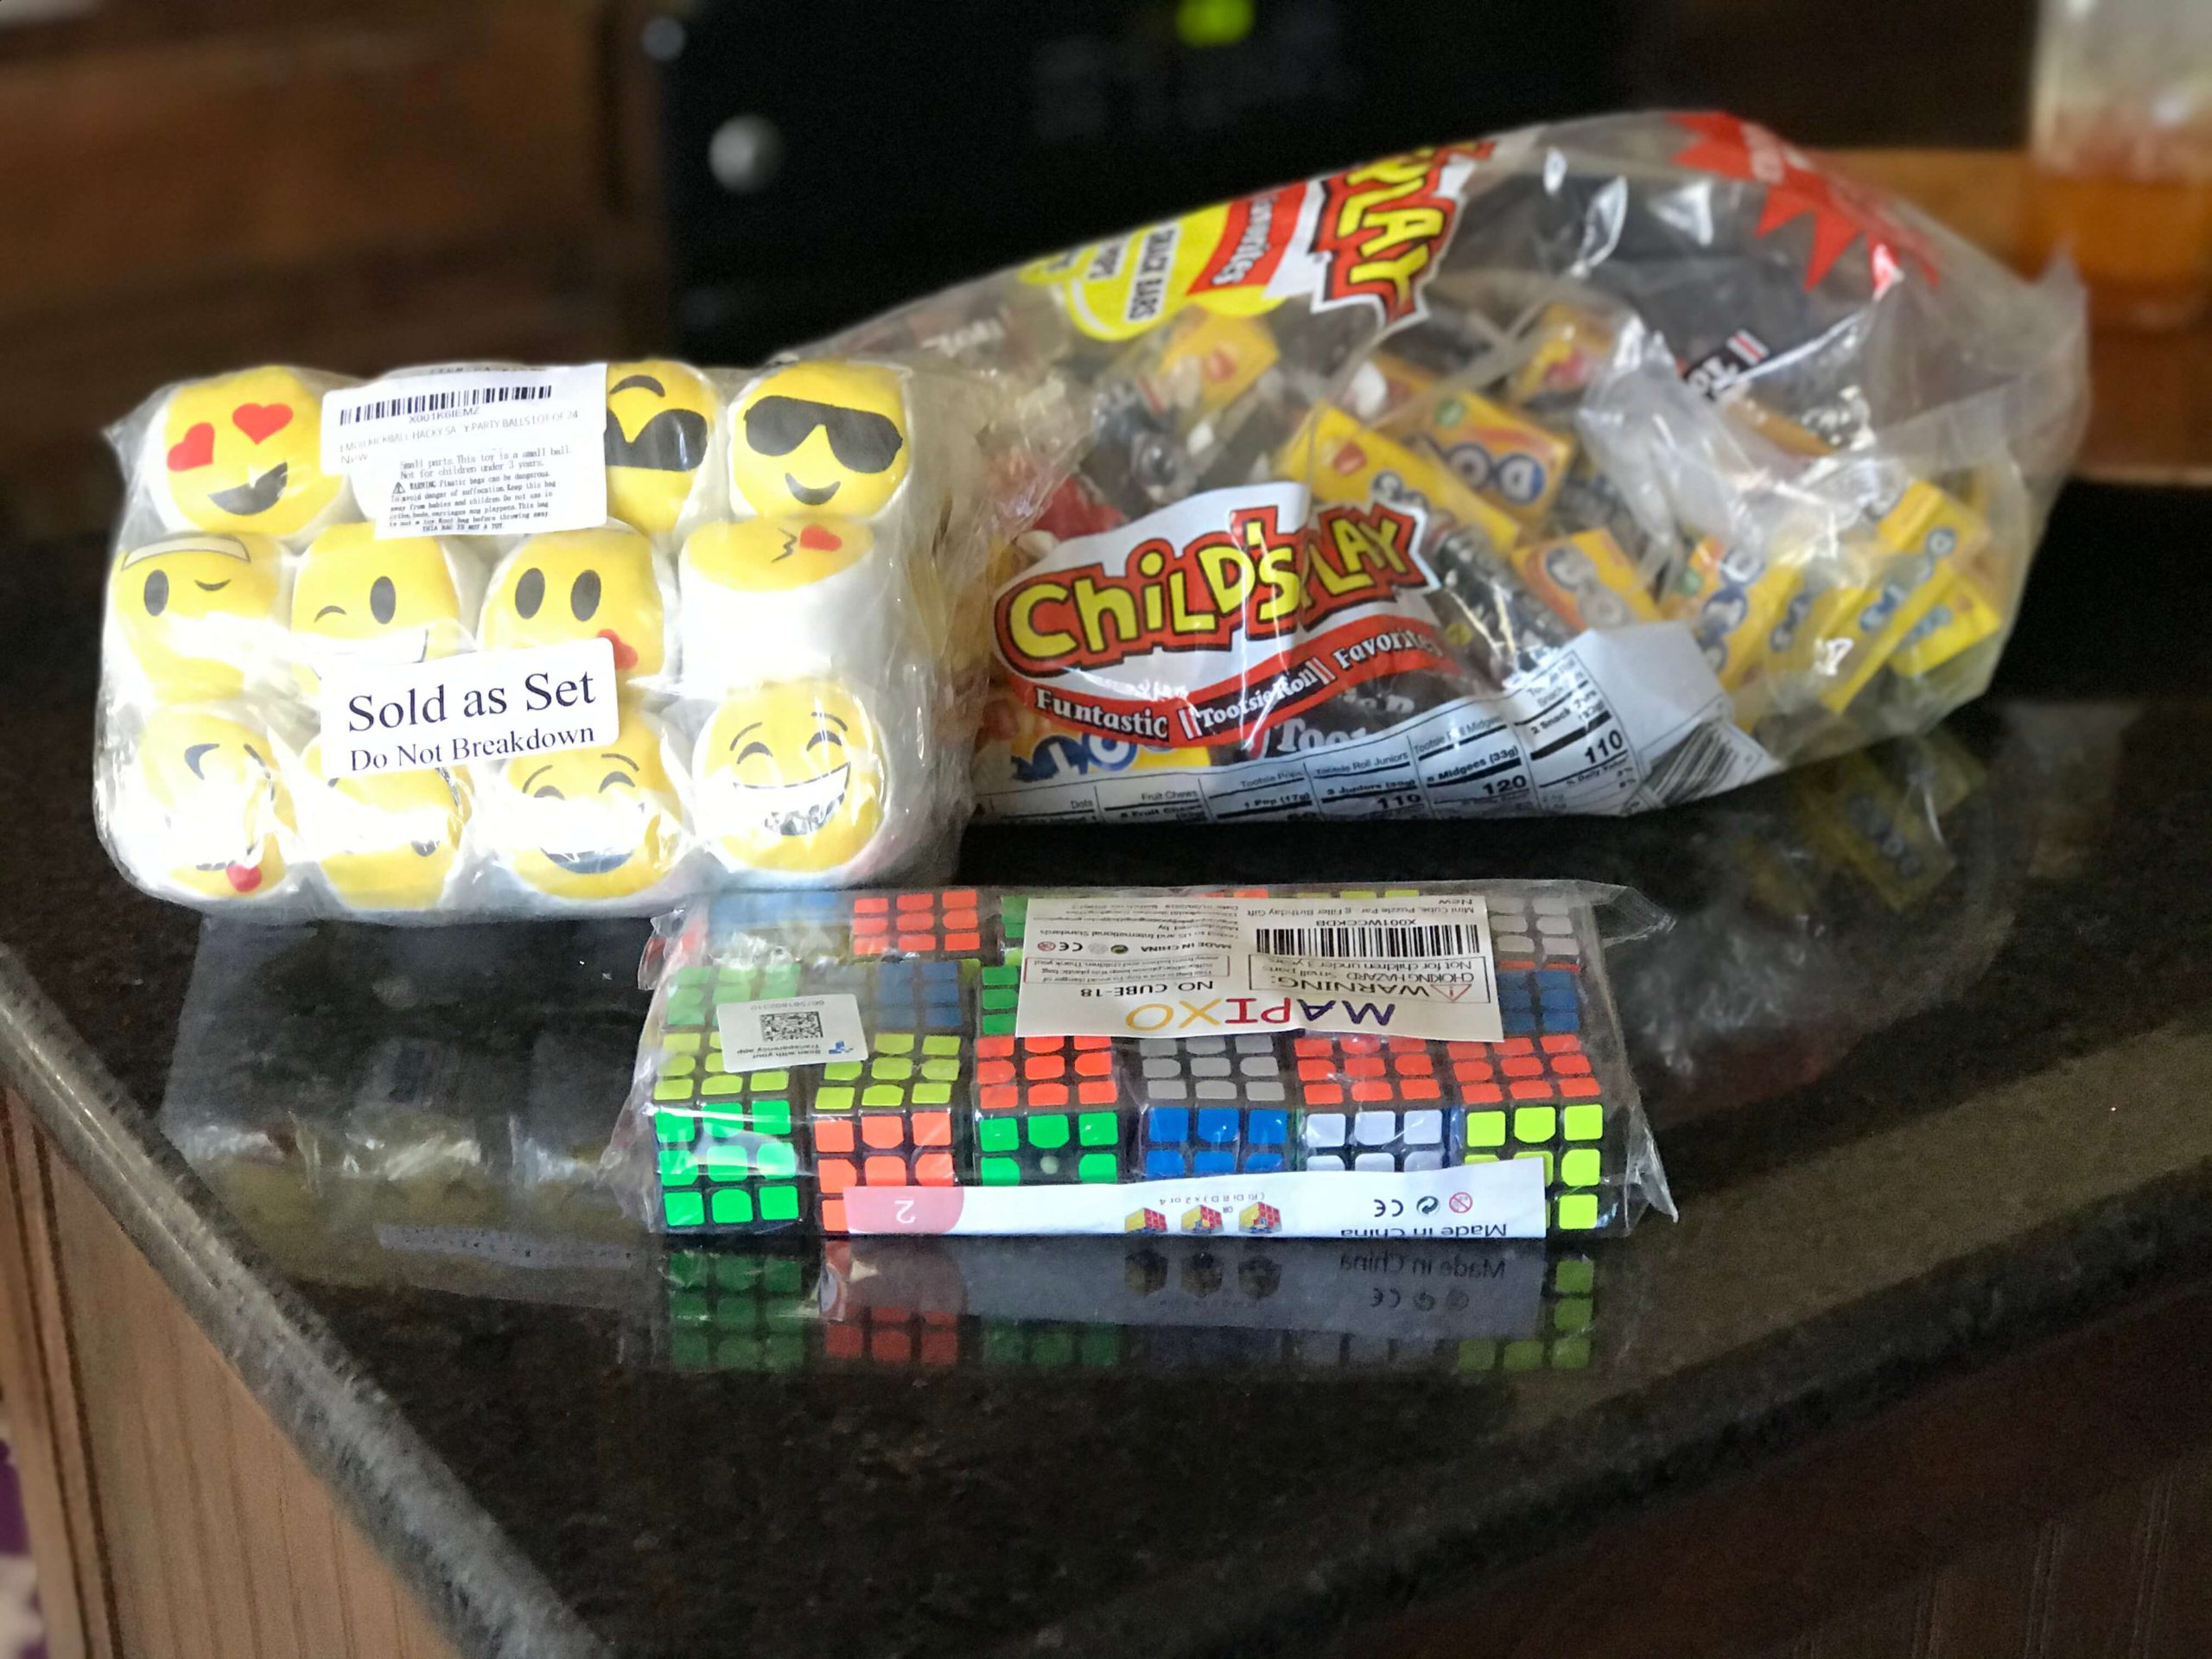
Decide which items you would like for each stocking, and create the list. Here are the items we requested.
Items linked using my Amazon affiliate links. Read full disclosure here.
6. Share Amazon list and PayPal link!
I shared about the project using every resource at hand: Facebook page (post set to public), my Army Mom FB group, my blog, and all social media. Canva is a useful resource to make graphics for free for the project. You will also need financial contributions for shipping costs. I shared my PayPal link and also my P.O. box address.
7. Gather Supplies
- Boxes, for shipping and for separating and corralling donations as they come in. 24″L x 12″W x 12:D sized boxes were perfect for shipping. Twelve stuffed stockings fit perfectly in that size box.
- String or twine, to securely tie tops of stockings shut.
- Shipping tape, lots and lots. Each seam of box should be taped three layers deep. It’s a job to be the box taper!
- Sharpies for addressing boxes
- Customs forms. Fill these out online, print, and bring to Post Office. Or fill out manually before you arrive at P.O.
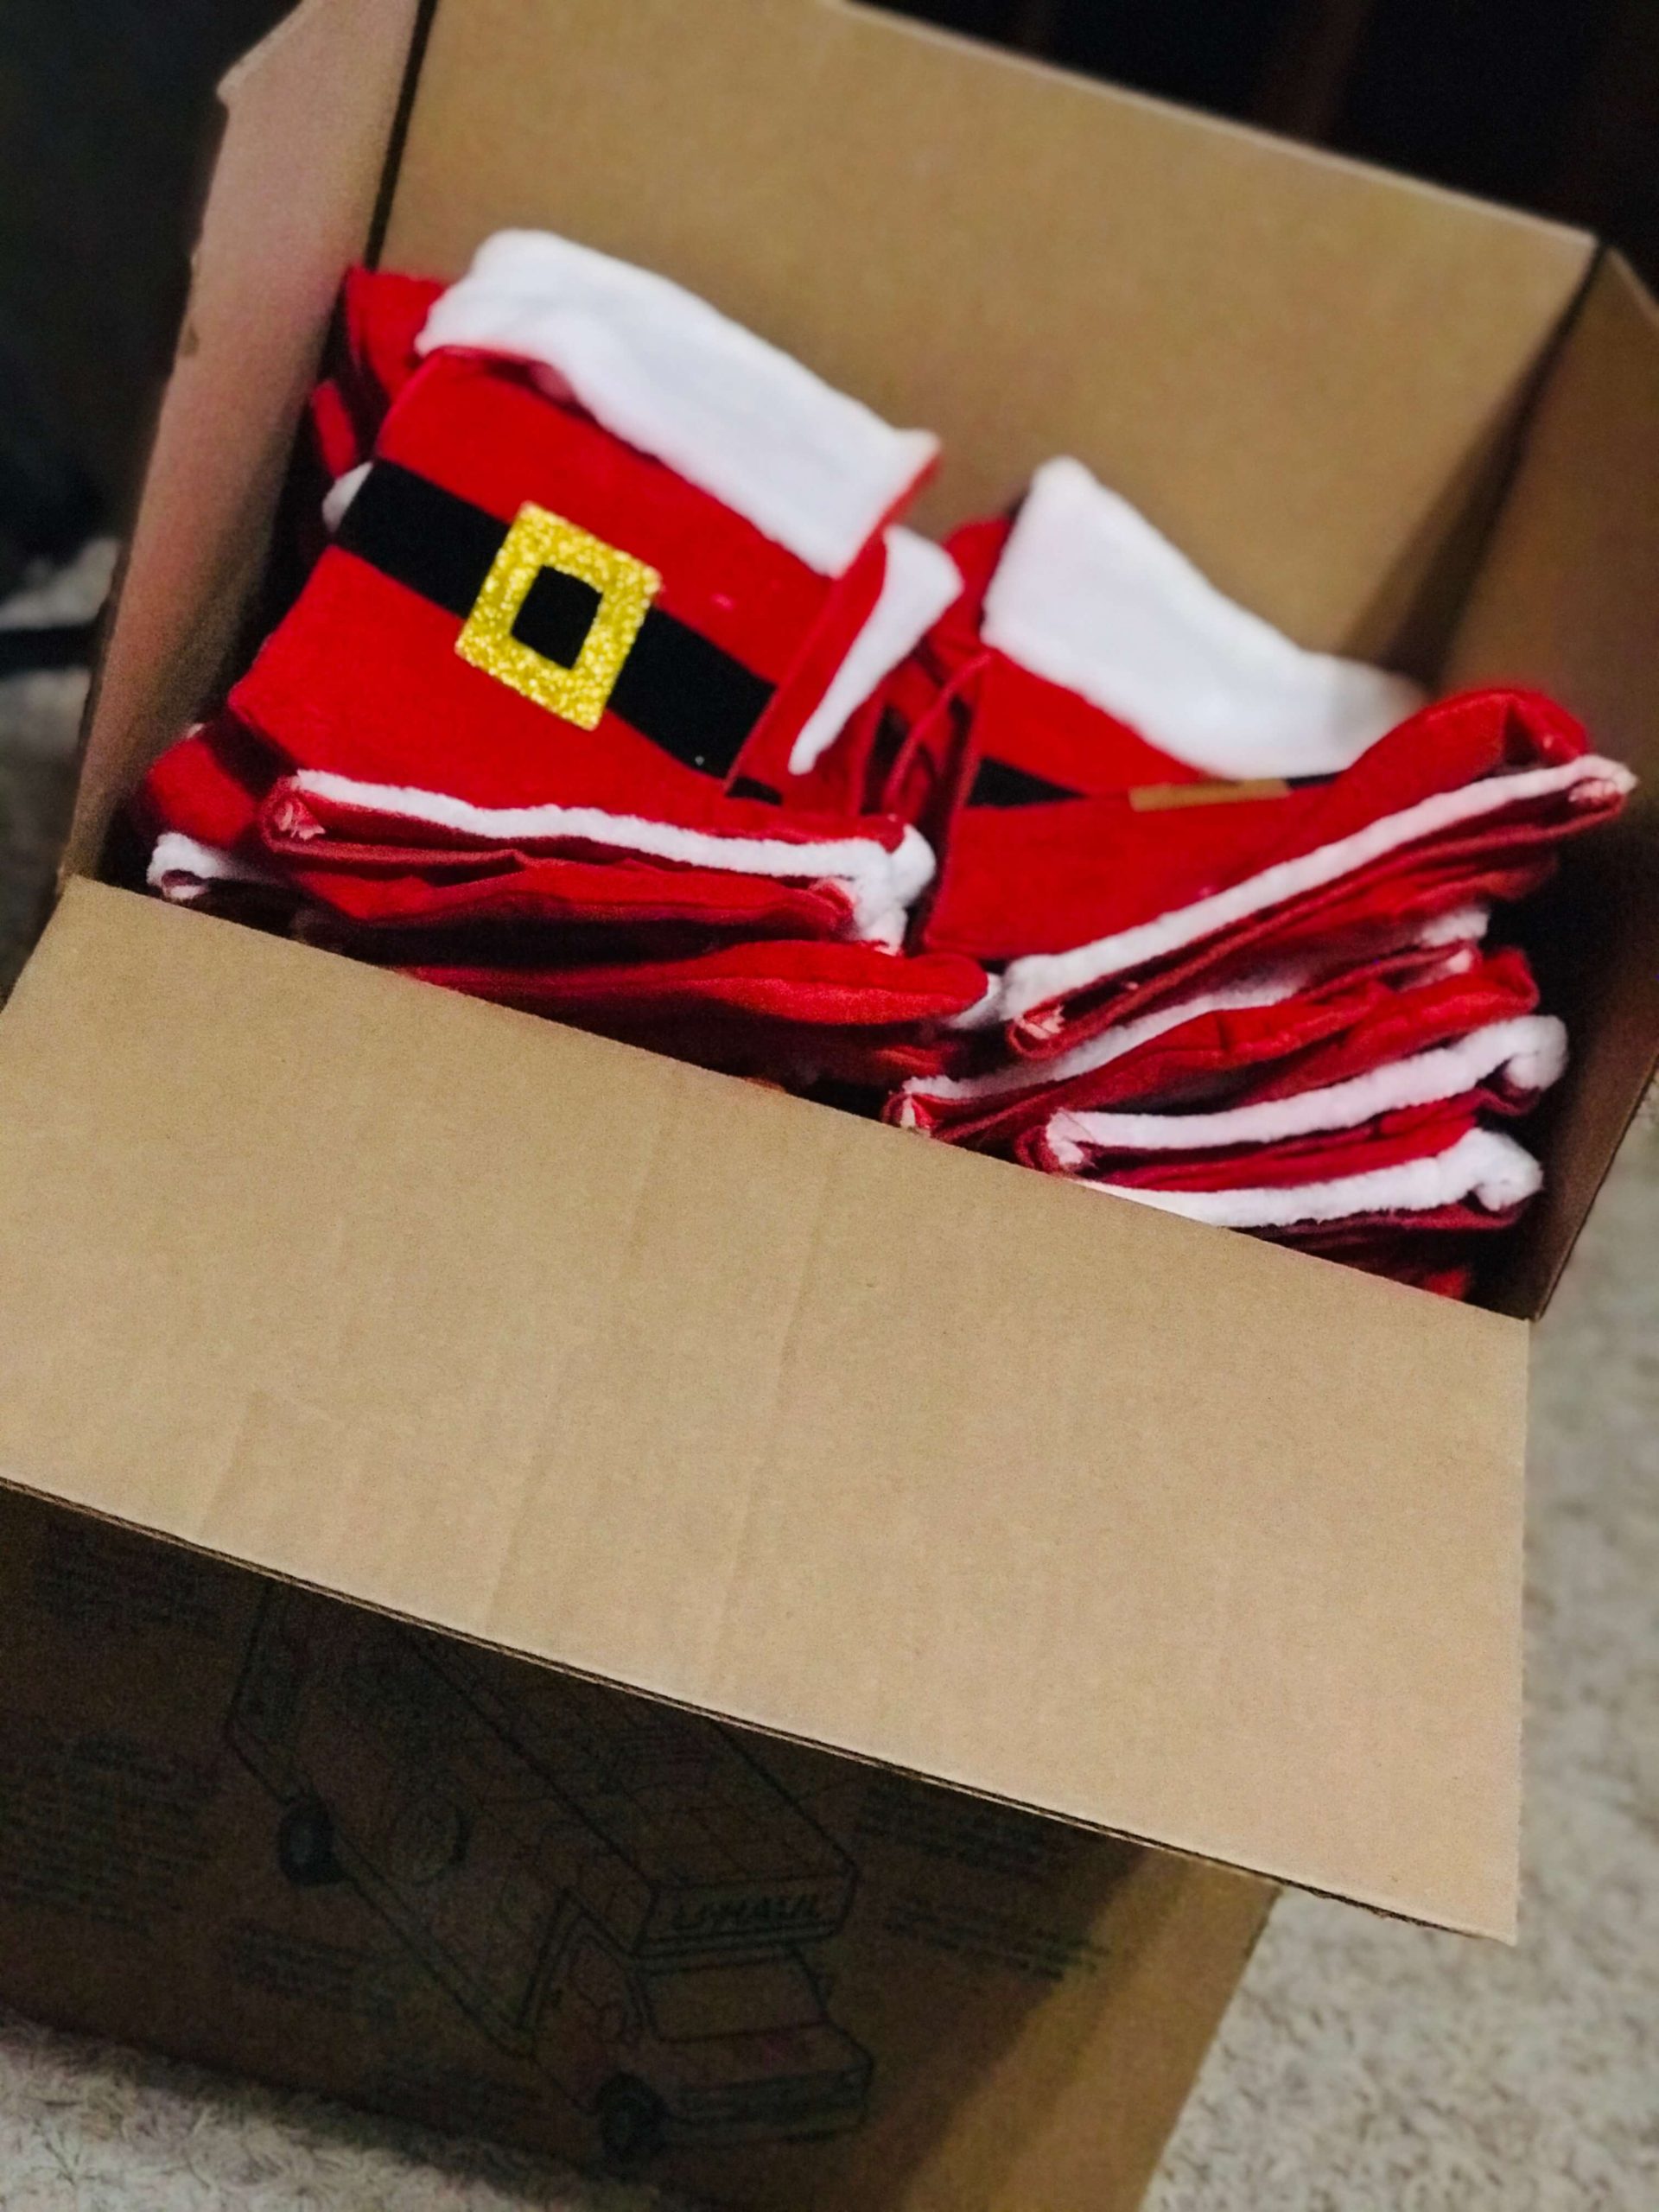
- Christmas Stockings. I ended up purchasing these myself at Dollar Tree. You could also request stockings on Amazon wish list or through Corporate donors.
8. Stay Organized.
As the donations arrived, I did two things.
- Thank donors. For the most part I took photos and posted on Facebook, tagging the donors. I also wrote some actual thank you notes to the groups who helped.
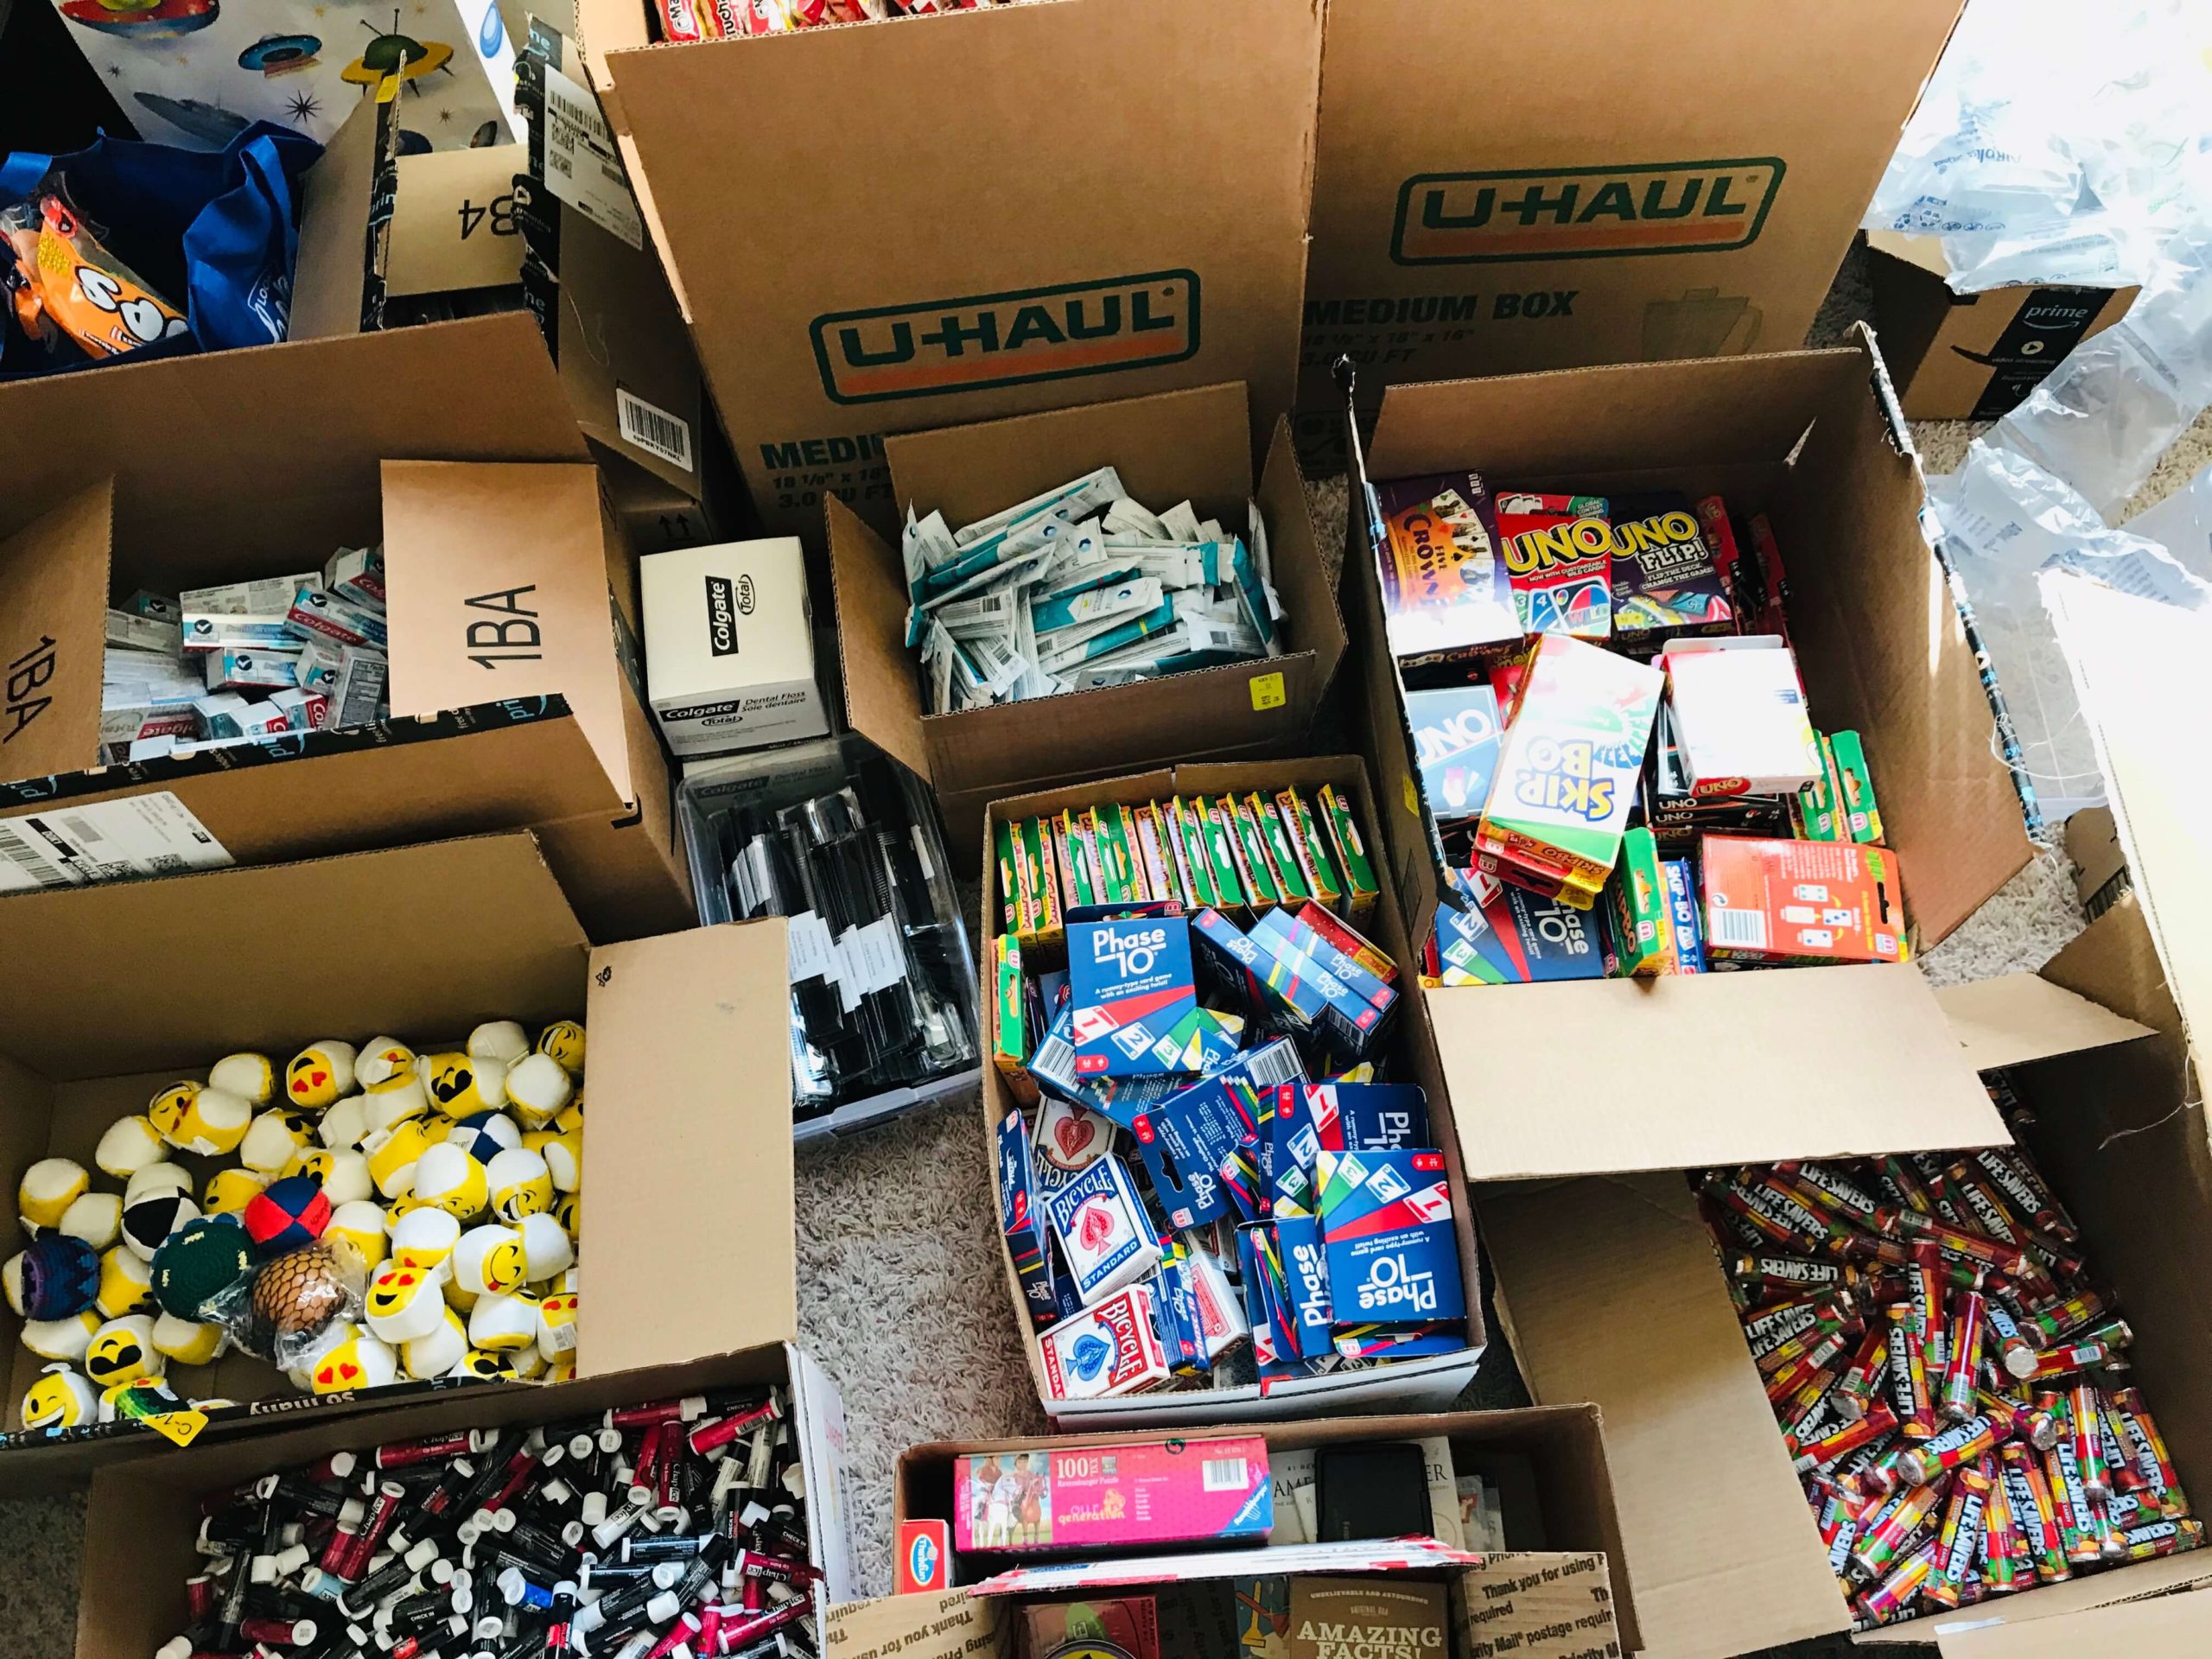
- Unpackage, sort, and organize stocking stuffers. Unwrap everything and through away packaging. Place each type of item into a box. The goal is to have each thing ready to grab and add to stocking. This takes much longer than you expect. Trust me, you do not want to leave this to do all at once right before your stocking stuffing event!
9. Stocking Stuffing Party!
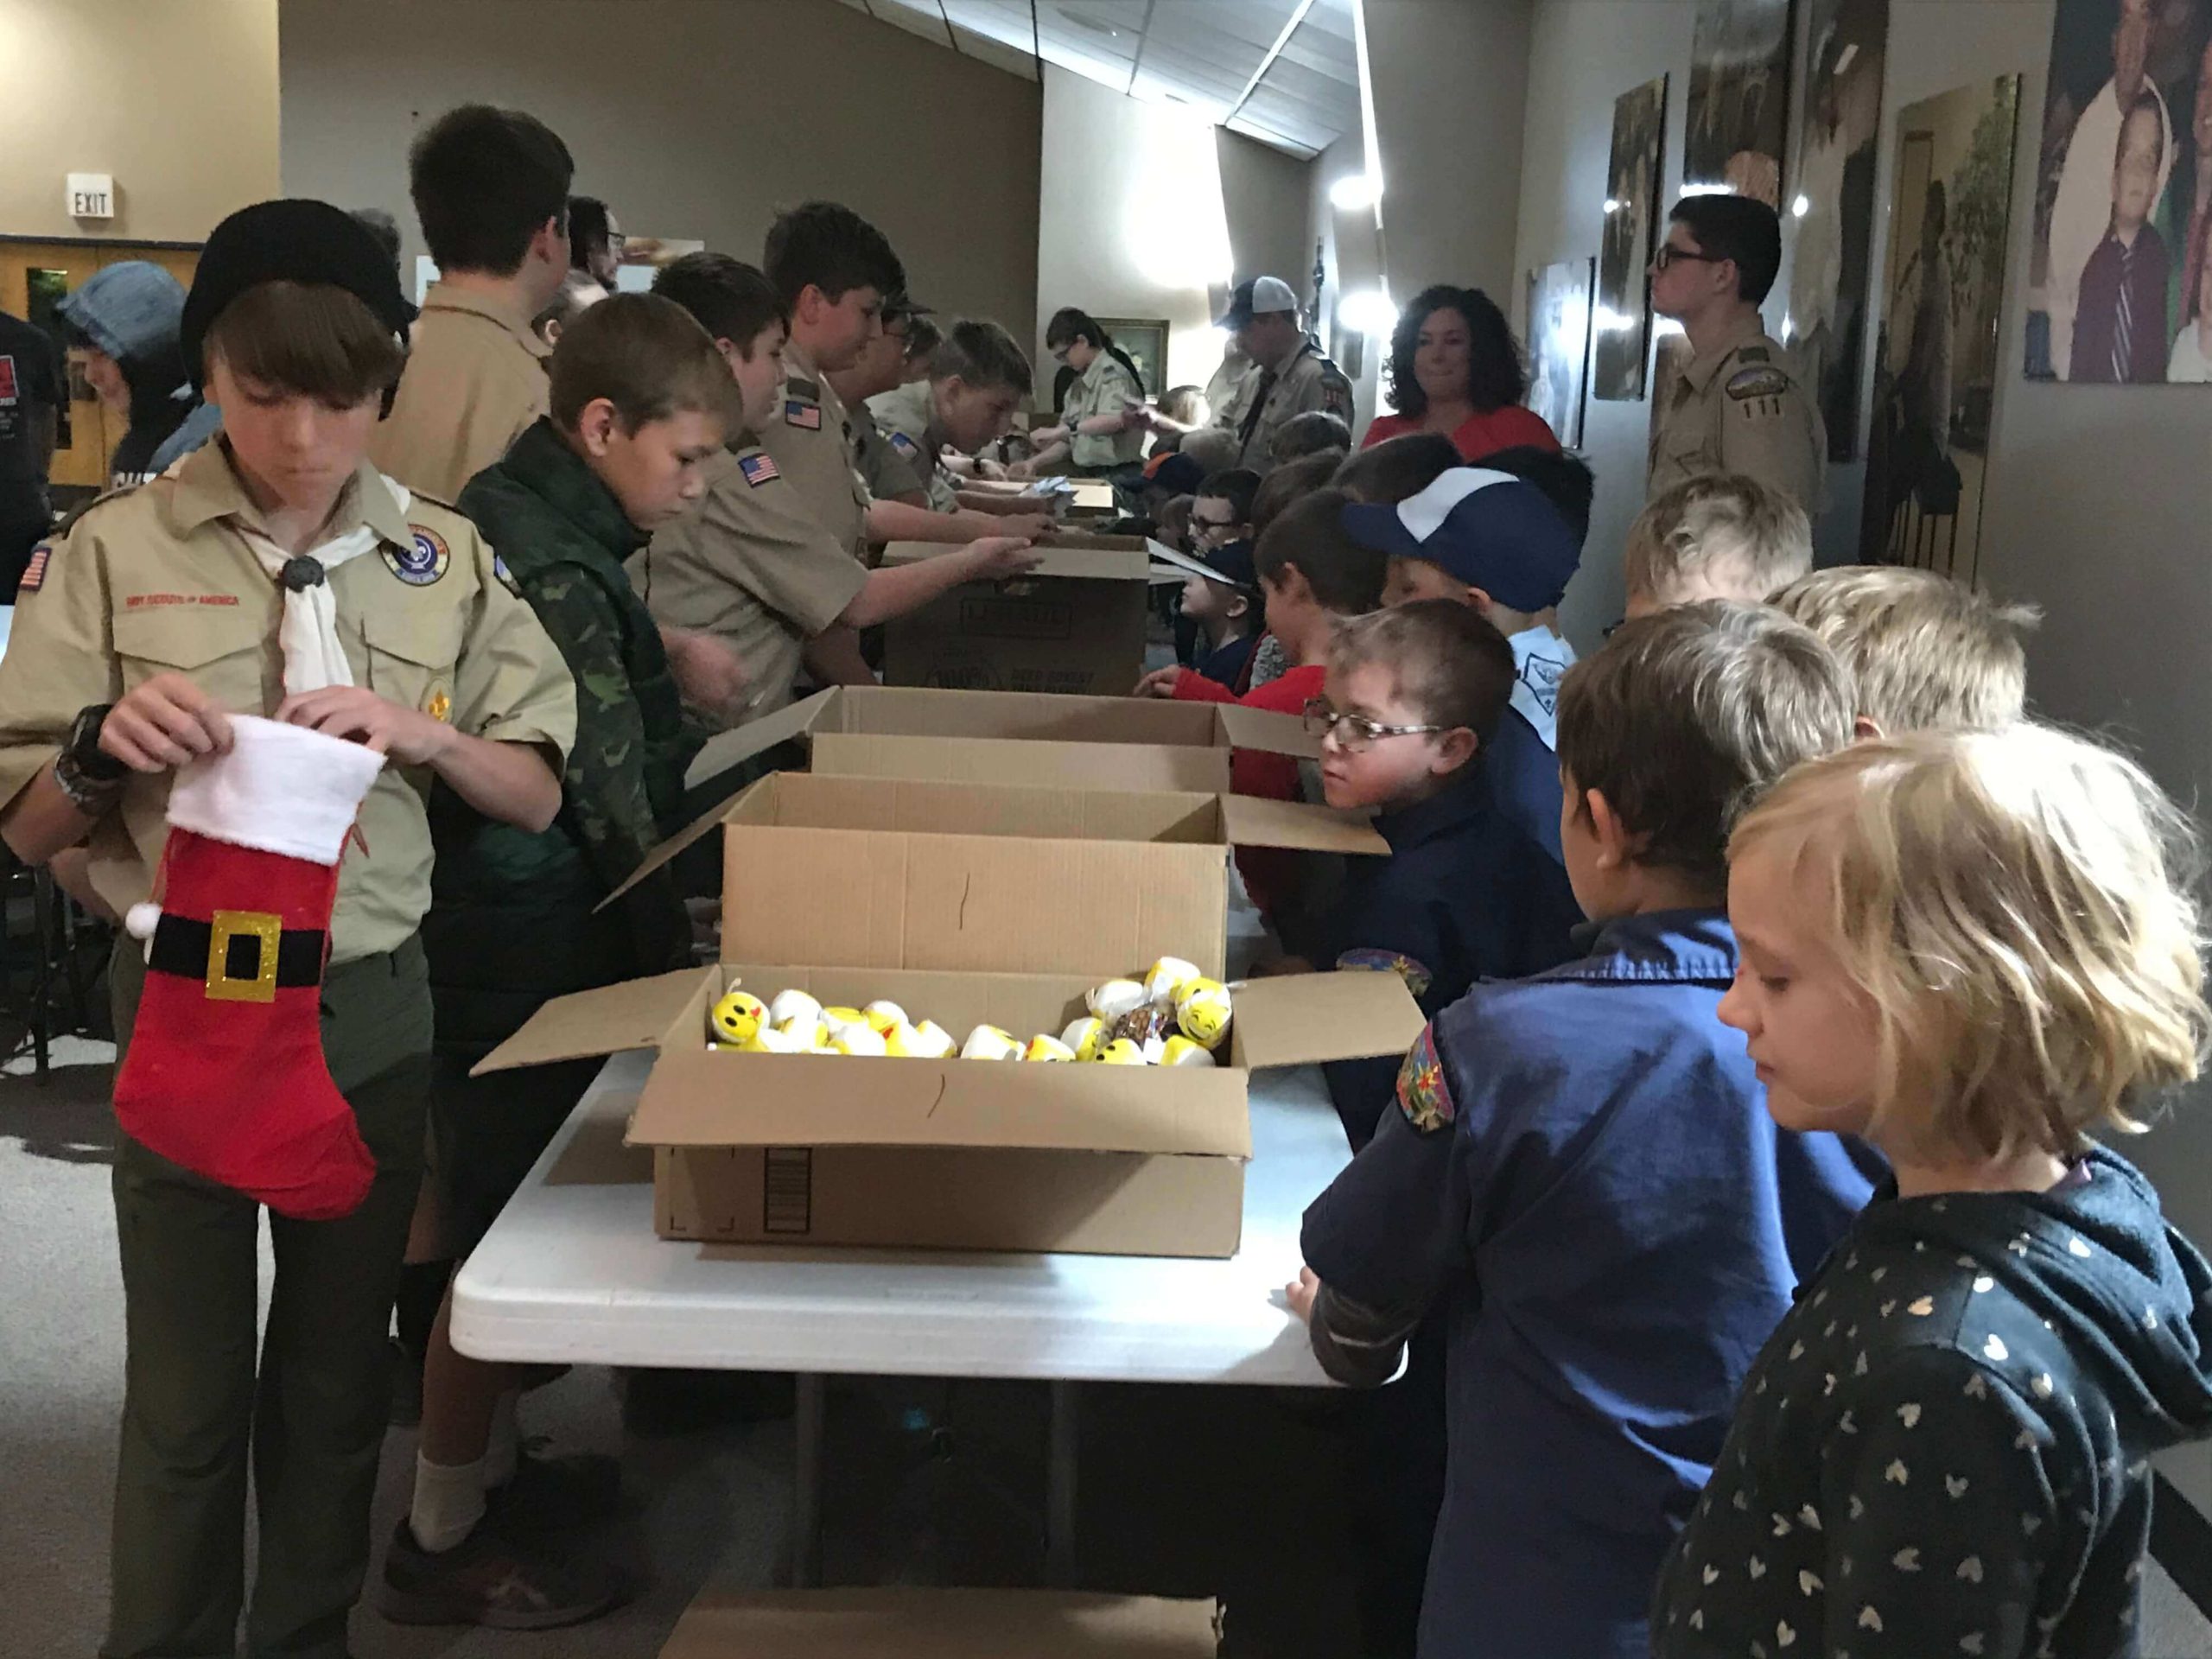
Woo hoo! On the big day, you’ll want to set up long tables in a row with the boxed items on tables. We had Scouts at each Station, and did assembly line stocking stuffing. The Scouts at Position 1 grabbed a stocking each, placed the first item in, and then passed stocking to the Scout standing next to them.
After the each stocking was completed, it was handed off to the Scouts at the Tying Station at an adjacent round table. Several Scouts were tying the stockings shut.
Then, they handed off the tied stocking to the Boxing Table, where my husband and Daddy had already built the boxes and then arranged them into the box.
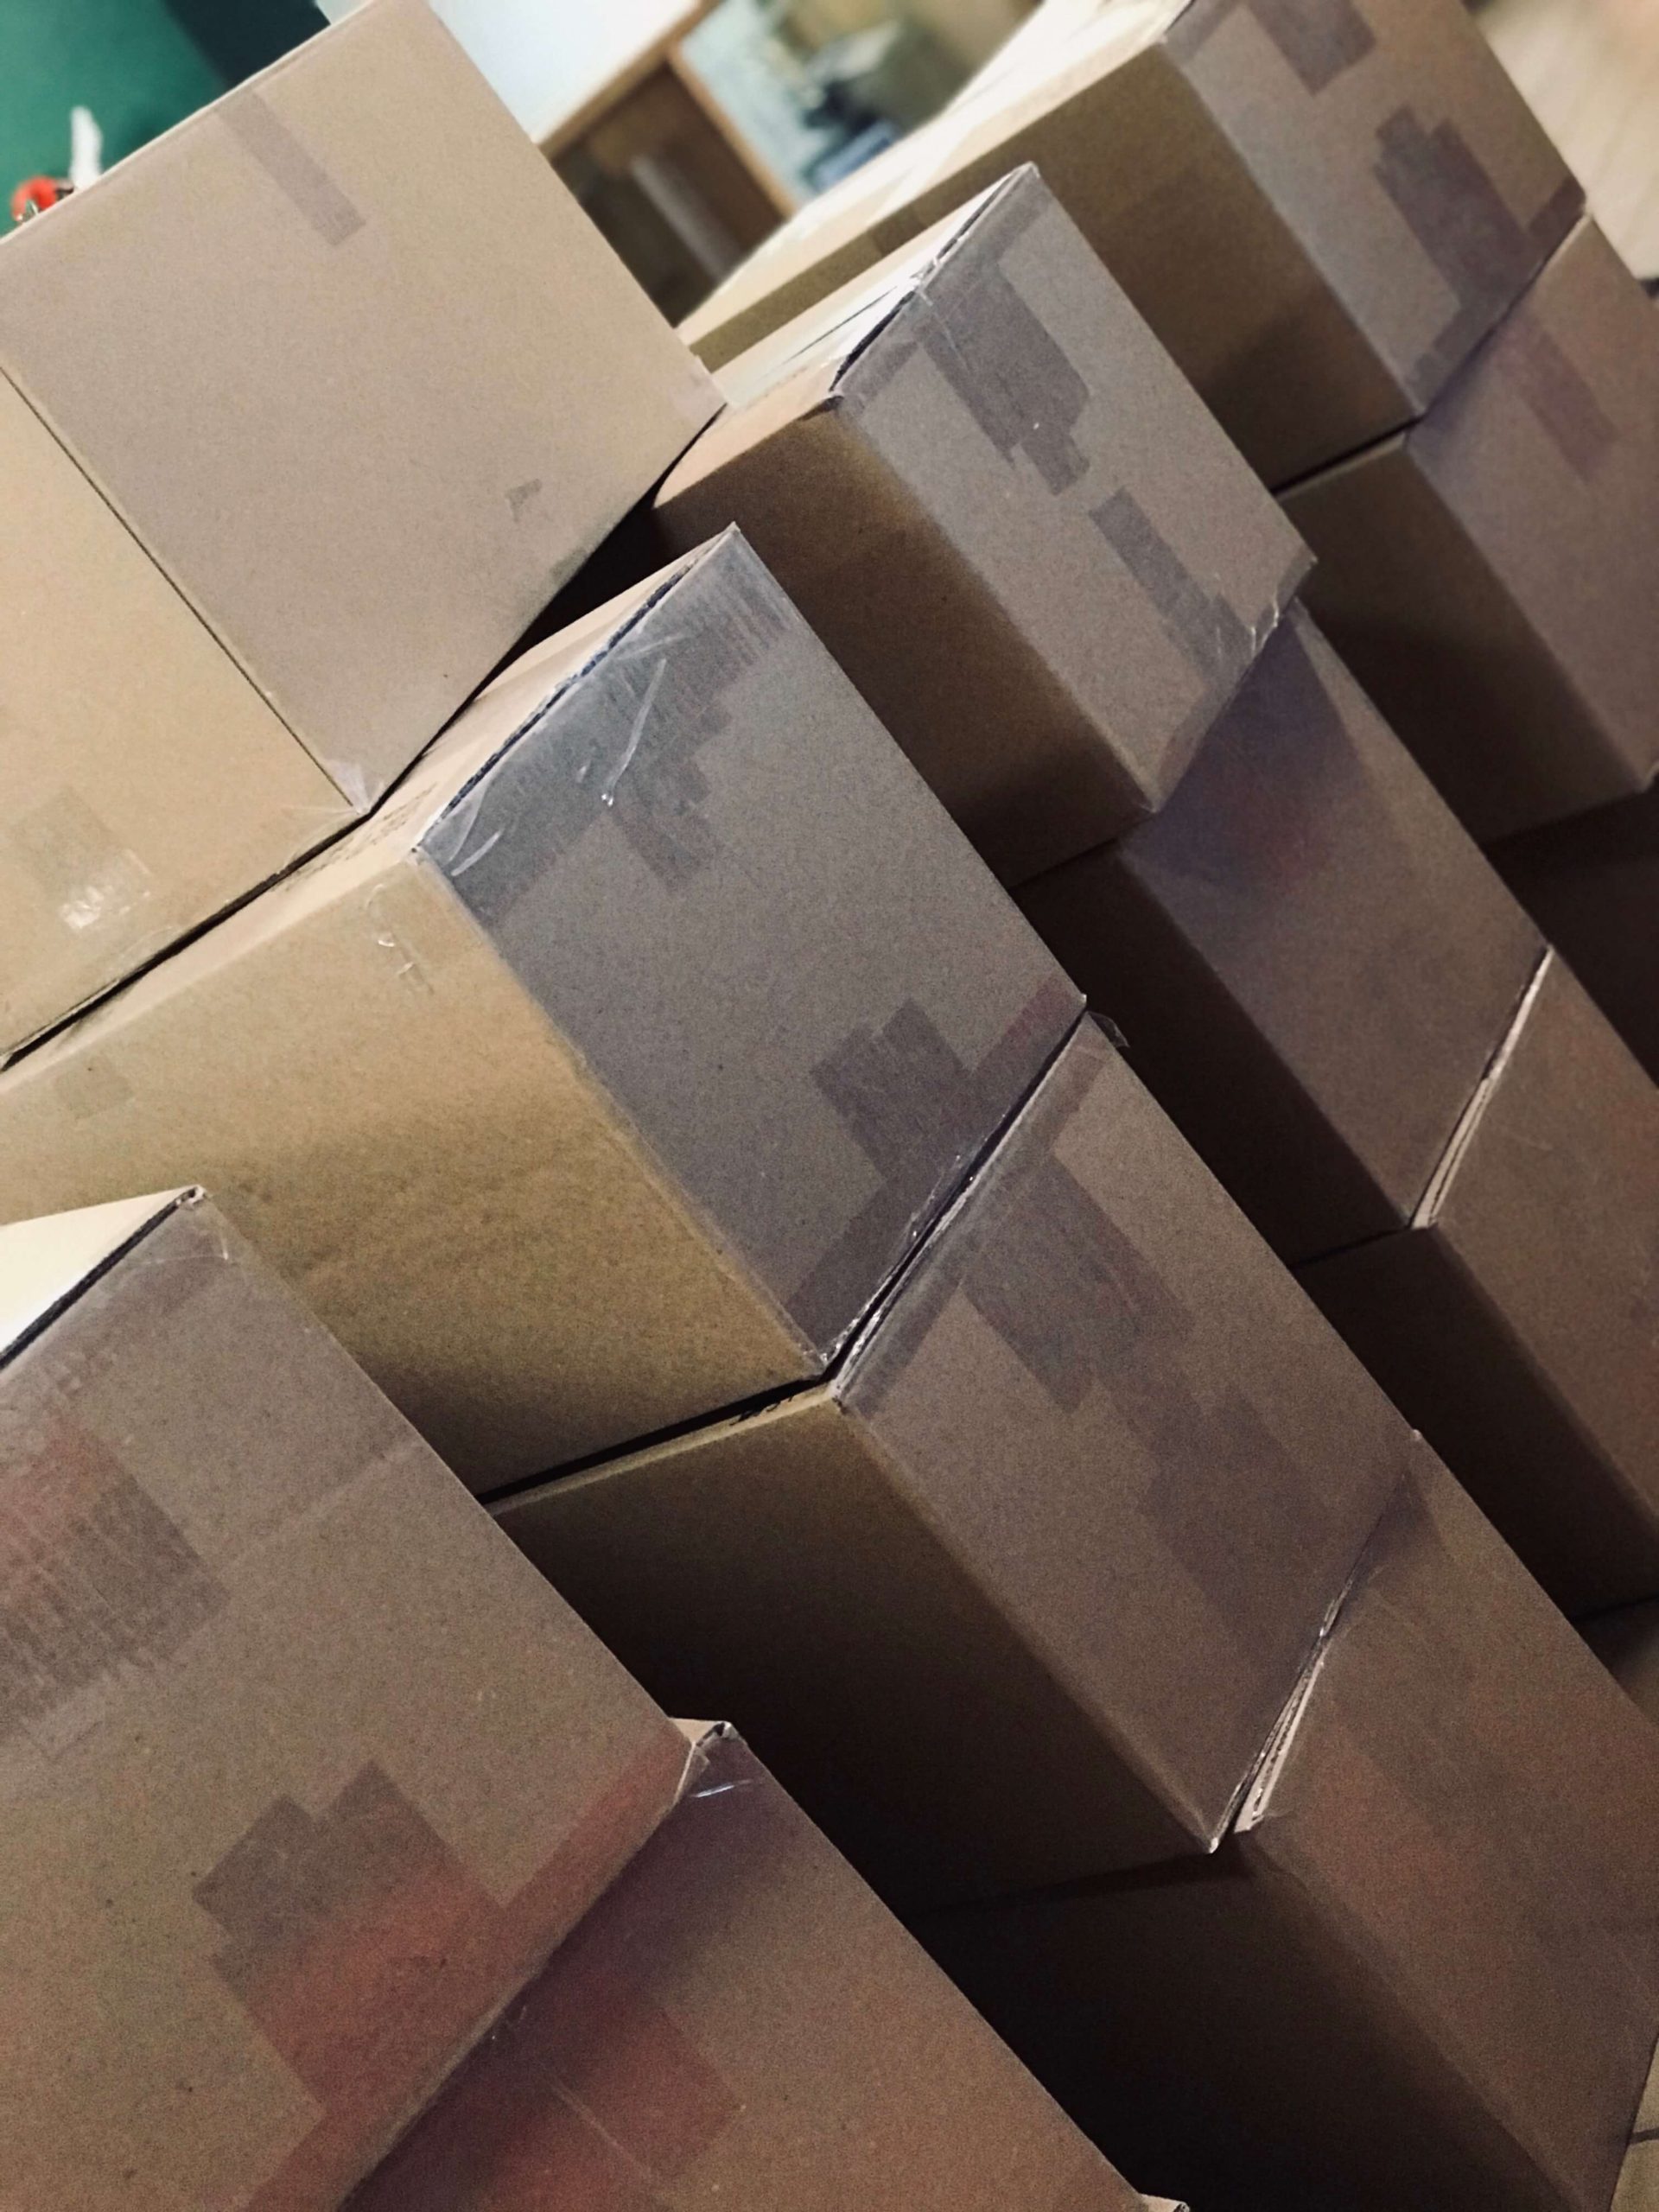
Once the box was full and taped shut, the box was handed off to the Addressing Table. The adults at this table addressed the boxes and then stacked them against the wall.
The Scouts enjoyed the Christmas cookies we had baked for them, and then carried the boxes to our truck.
10. Shipping
When we returned home, I filled out all the Customs forms carefully. The next morning, my husband helped me take the boxes to the Post Office. Believe me, this is not a one-person job. We brought a dolly (hand truck) with us to make it easier.
It took us over an hour at the Post Office. Fortunately, we have amazingly friendly and helpful postal workers. The one who helped us is also an Army veteran, and was deployed at the beginning of Desert Storm. He was wonderful.
The boxes–12 stockings per box–weighed around 27 pounds each and cost approximately $50 per box to ship. I received so many generous contributions that I did not pay anything out of pocket for shipping!
Stockings for Soldiers Project Tips Wrap Up
This project stretched me in so many ways, and I’m privileged to have been part of it. I cannot even articulate how blessed and encouraged and touched I am by the positive response. My family was amazing, of course. Even my far-flung cousins pitched in with contributions. Family friends and friends who are like family participated generously. I will always remember the love and support that has been shown to me and to these soldiers.
People are generous and helpful and exceed expectations at every turn. Remember this the next time you feel cynical due to a bad apple.
If you are afraid to take on a big project–as I was–I encourage you to get out of your comfort zone and do the thing that’s on your heart.
I’m hoping that after Christmas I’ll be able to share a picture of some soldiers with their stockings. Please pray they all arrive!
You are invited to follow my social media! Click to follow on Facebook, Instagram, Pinterest, and Twitter.
Please follow this link to join the community and receive my posts in your inbox!
I would love to pray for you. Please send prayer requests to kimturnermcculley@gmail.com.
I frequently link up with these lovely bloggers.
Recommended Books & Stuff
Amazon Affiliate Links. Full Disclosure here.




❤wonderful job Kim! Love you and your enthusiasm and love for your son’s infantry!❤
Thank you, Brenda. I love you dearly.